
How to Identify Coral Bleaching: A Visual Guide for Divers
How to tell bleached coral from dead coral, disease and feeding scars, and how to photograph, record and report what you see on a dive.
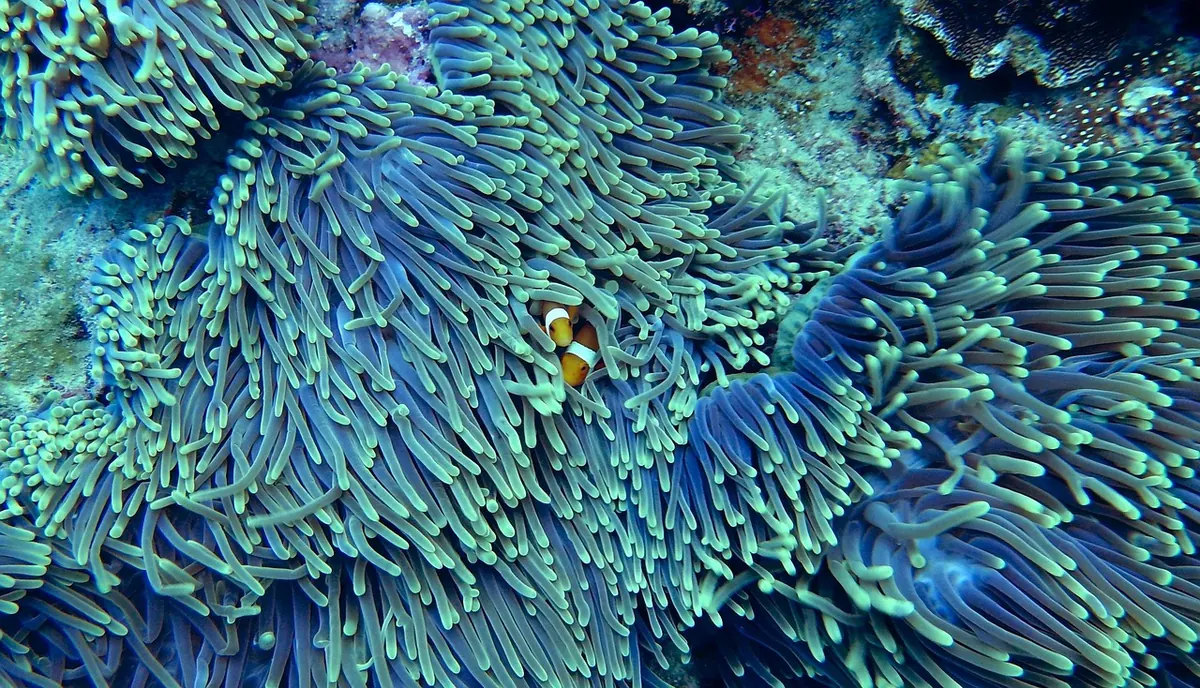
Most divers learn about coral bleaching from a photograph: a reef turned bone-white, a before-and-after pair that makes the damage look instant and obvious. In the water it is rarely that simple. Bleaching often begins as a loss of depth in colour, a handful of pale patches on a coral head you have swum past a dozen times, a staghorn colony that looks washed out rather than vivid. Learning to notice those early changes, and to tell them apart from the many things that look similar, turns an ordinary dive into something genuinely useful to the people tracking reef health.
What is actually happening to a bleached coral
Reef-building corals get most of their colour from microscopic algae living inside their tissue, called zooxanthellae. The algae supply the coral with food; the coral gives them shelter and the pigments that make a healthy colony look brown, gold, olive or green. Under sustained heat stress, usually a spell of unusually warm water in summer, that partnership breaks down and the coral expels the algae. Its tissue becomes transparent, so what you are seeing is the white calcium carbonate skeleton underneath.
The important point for divers is this: a bleached coral is not automatically a dead coral. It is a starving one, and it can recover if the water cools and the algae return. That is exactly why your observations matter. A colony that is white in August might be brown again by February, and the only way anyone knows is if somebody recorded it.
The early signs, in the order you will notice them
Paling
The first stage is a general loss of colour. The coral keeps its shape and its texture but looks faded, as though someone has turned the saturation down. Compare a suspect colony with a healthy one of the same species nearby — a reference point next to it is far more reliable than your memory of what the reef looked like last year.
Patchy bleaching
Next, the white starts to appear in patches. It usually shows on the upper surfaces and the sides facing the sun first, while shaded areas keep some colour. On a branching coral you might see pale tips and coloured bases; on a boulder coral, a mottled, piebald look. Patchy bleaching is a strong signal that stress is active and ongoing.
Bright, unnatural colour
Some corals do the opposite of fading. They flare into vivid pink, blue or purple as a stress response, producing pigments that act a little like sunscreen. It is beautiful, and underwater photographers chase it, but treat it as a warning sign rather than a photo opportunity. Colonies that brighten in this way often bleach shortly afterwards.
Full-colony white
At this stage the colony is bright white, sometimes almost glowing against the surrounding reef. Look closely: bleached living coral still has visible structure. You should be able to make out individual polyps as tiny dots, or a fuzzy, dotted surface texture. If the surface is smooth, grey or covered in a soft green-brown fuzz, you are probably looking at dead coral with algae growing over it.
What bleaching is not: five lookalikes
Misreporting is almost as unhelpful as not reporting, so rule these out before you get excited:
- Recently dead coral. The skeleton is soon colonised by turf algae, turning it grey, brown or slimy green. You lose the polyp detail. Bleaching is white and structured; death is dull and fuzzy.
- Coral disease. Conditions such as white band and white plague produce a sharp, advancing line where tissue is being lost, leaving clean bare skeleton behind it. Bleaching is diffuse, affecting the whole colony or broad patches, with the tissue still present.
- Predation scars. Crown-of-thorns starfish leave white feeding scars with jagged, clean edges on the colony they have just grazed. Parrotfish bites leave small, rounded white marks. These are injuries, not bleaching.
- Sediment. Silt settling on a colony dulls it and can look like paling from a distance. If the colour is still there underneath the dusting of sediment, the coral is not bleached.
- Natural variation and bad white balance. Some colonies are simply paler than their neighbours, and a camera with the wrong white balance or a coloured filter will happily turn a healthy reef white. Check with your eyes and a torch before you trust the screen.
How to record what you have seen
A photograph with no context is hard to use. Give whoever receives it enough to work with.
Start wide: one frame showing the reef around the affected colony, including healthy corals for comparison, so the extent is clear. Then move in for a close frame showing the polyp texture of the bleached colony. Keep your lighting consistent — if you are using a filter or a torch, use it for both shots, and mention which in your notes.
Note the practical details while you are still on the boat, not the next morning:
- Site name, date and time of the dive.
- Depth in metres where the bleached colonies were found.
- Water temperature from your dive computer.
- Growth forms affected — branching, plating, boulder, soft corals.
- A rough estimate of extent: a few colonies, a patch, or most of the reef in view.
Estimates are fine. Nobody expects a survey-grade assessment from a recreational dive; a clear sense of scale and location is what makes a report worth acting on.
Where to send your report
Begin with the people who know the site best. Dive centres and liveaboard crews visit the same reefs week after week, so they can confirm a sighting, follow it over the season and warn other divers about damaged areas. In the UK, volunteer diver survey schemes such as Seasearch channel observations from British and Irish waters into conservation records, and there are international citizen-science coral monitoring programmes with simple colour charts you can carry on a slate.
Marine park authorities and local reef conservation charities also welcome reports, particularly with photographs and depth data. If you dive the same site regularly, keep your own log of dates, temperatures and photographs taken from the same angle. A series of dated images from one reef pin is more revealing than any single dive, because it shows whether a colony recovered, held steady or went downhill.
A five-minute bleaching check you can run on any dive
- In the first few minutes, before something more interesting distracts you, scan the reef from a few metres back and ask whether any colonies stand out as paler than their neighbours.
- Pick three or four common coral heads and check each one against a healthy reference colony close by — colour first, then texture.
- Shine your torch on anything pale. If you can see individual polyps or a fuzzy surface, note it as bleached and still alive. If it is smooth, grey and algae-covered, it is dead.
- Take a wide shot and a close shot, then write down site, depth, temperature and a rough extent estimate on your slate before you ascend.
- Back on the boat or in the evening, pass the photos and notes to the dive centre, the relevant monitoring scheme or a local conservation group. Do not sit on it for a week.
You do not need to be a marine biologist to contribute something valuable. A dated photograph of a pale colony at a named site, taken by a diver with good buoyancy and no interest in touching anything, is real evidence. Keep your fins off the reef, keep your records simple and consistent, and your dives will add up to something far more useful than a holiday album.
Photo: Pexels / Pixabay